
Listing Launch Checklist for the First 48 Hours
Plan the first 48 hours of a listing launch with a practical checklist for source files, marketing review, publishing, and checking buyer contact paths.
Listing Lab 360
On this page
The first 48 hours of a listing launch are easier to manage when the facts, files, and publishing responsibilities are settled before the first post goes live. Use this checklist to organize the work around a planned launch. Adjust the sequence to your own listing schedule and the people involved.
There are two clocks to keep separate: preparing marketing materials and introducing the listing publicly. If a provider needs 48 hours to produce files, place that work before your planned publishing time. Do not schedule a post around a file you have not yet reviewed.
Before the launch clock starts
Create one working folder for source photos, approved property information, finished files, and the publishing checklist. Keep those categories in separate subfolders so an old export does not get mistaken for the final version.
Agree on who can approve facts and who will publish each item. Even if you handle everything yourself, naming the tasks makes it easier to see what is still waiting. A finished graphic in a download folder has not yet reached a buyer.
Use this preparation list before committing to the launch time:
- Confirm the address, approved price, property details, and agent or homeowner contact information.
- Select the original photo files and identify the lead image.
- Decide which marketing materials you need and where each will appear.
- Confirm production timing and allow space for your review.
- Assign the listing entry, social posts, print order, and link checks.
If a key fact is unresolved, label it clearly and resolve it before publishing materials that depend on it.
Hours 0–4: check the public listing foundation
Start with the information people will rely on when deciding whether to inquire. Read the listing as a buyer would: can you identify the property, understand its main features, and find the next step?
Check the photos in their published order. Lead with an image that introduces the home, then use a sequence that helps someone follow the spaces. Watch for duplicate images, sideways files, and an important room accidentally left out.
Open the public destination yourself. Confirm that it shows the intended listing rather than a preview available only to you. Copy the link from that public view into your publishing checklist so everyone uses the same destination.
Check the contact path
Tap the phone and email links where they appear. Confirm the displayed contact details as well as the destination behind the link. A correct name on the page does not catch a mistyped email address in the underlying link.
If you use an inquiry form, check that you can receive and identify a test inquiry. Keep the test separate from actual buyer inquiries so it does not create confusion during follow-up.
Hours 4–12: review the launch materials together
Open the social graphics, captions, handouts, and any other prepared materials in one review session. Compare them against the approved property brief. This catches inconsistencies that are easy to miss when you approve each file separately.
Check the address, price, dates, contact details, and destination link. Then check presentation: does the crop hide the feature mentioned in the caption? Is the text readable on a phone? Does a print proof leave enough space around the content?
Keep correction requests in one list with filenames attached. “Change the price on the vertical graphic” is more useful than a message saying “this one is wrong” without identifying the file. Mark corrected versions clearly before they enter the publishing folder.
Hours 12–24: publish the planned introduction
Use the destinations you selected during preparation. Start with a clear introduction to the home and a working link to more information. You do not need to fit every feature into the opening caption.
Record what went live and where. A short list of links is enough to make later updates manageable. If someone else publishes a post, ask them to add its location to that same list.
Give print its own deadline
If you need physical handouts for an open house, account for proof review, ordering, and collection or delivery. A print-ready file is one stage of that process. Confirm the practical deadline with whoever is producing the physical copies.
Check the open-house details again before the print order. A correct listing address does not catch an outdated start time copied from an earlier plan.
Hours 24–36: review what a buyer can see
Revisit the live materials from a phone. Check whether the images load, captions display as intended, and the destination link opens the correct page. A file can look right in an editor and still need attention after it is posted.
Read any early questions for signs of missing information. If people cannot find the showing instructions or are confused by a room photo, decide whether the presentation needs a clearer explanation. Verify any new detail before adding it.
Respond through the normal process you use for inquiries. Keep the property facts consistent across replies, listing copy, and posted materials. If a question reveals an error, add the correction to your shared update list.
Hours 36–48: close gaps and prepare the next post
Check the publishing list for unfinished tasks. Confirm that corrections reached every affected location and that the finished folder contains the versions you now intend to use.
Choose a second post around one visible feature rather than repeating the entire introduction. A kitchen image, porch, or work area can give readers another reason to look at the listing. Keep the caption tied to what the photo actually shows.
If you are preparing for an upcoming launch, Listing Lab 360 offers a $299 per listing marketing package built from existing photos, delivered in 48 hours with no shoot day. Code FIRSTLIST50 gives you 50% off your first listing ($149.50). You can get started and plan the production time before your public launch.
Frequently asked questions
Does all marketing need to go live at once?
No. Decide which pieces belong at launch and which can follow. The initial listing and its contact path should be ready when you start directing people to them.
What if finished files arrive close to launch?
Allow time to review them before publishing. Adjust dependent posts if needed, and prioritize accurate materials with working links over filling every planned slot immediately.
What should I track during the first two days?
Track published locations, needed corrections, unanswered questions, and unfinished tasks. Early activity alone does not establish a sales result; use the checklist to keep the presentation accurate and the inquiry process working.
Continue reading

FSBO Marketing: How to Sell Your Home Like a Pro
A practical FSBO marketing plan: photos, video, a property website, social posts, and open house materials that help a for sale by owner home compete.
November 9, 2026 · 5 min read

What Should a Listing Marketing Package Include?
Compare listing marketing packages by deliverables, photo inputs, formats, turnaround, and review steps so you know what will be ready for launch.
October 27, 2026 · 5 min read

How to Market a Listing Without a Photo Shoot Day
Build a listing marketing plan from existing photos: choose source files, organize property details, plan formats, and review materials before posting.
October 20, 2026 · 5 min read

How Much Does a Real Estate Listing Video Cost?
What agents and home sellers can expect to pay for a listing video, what changes the quote, and when a short walkthrough in a $299 package is enough.
October 17, 2026 · 5 min read
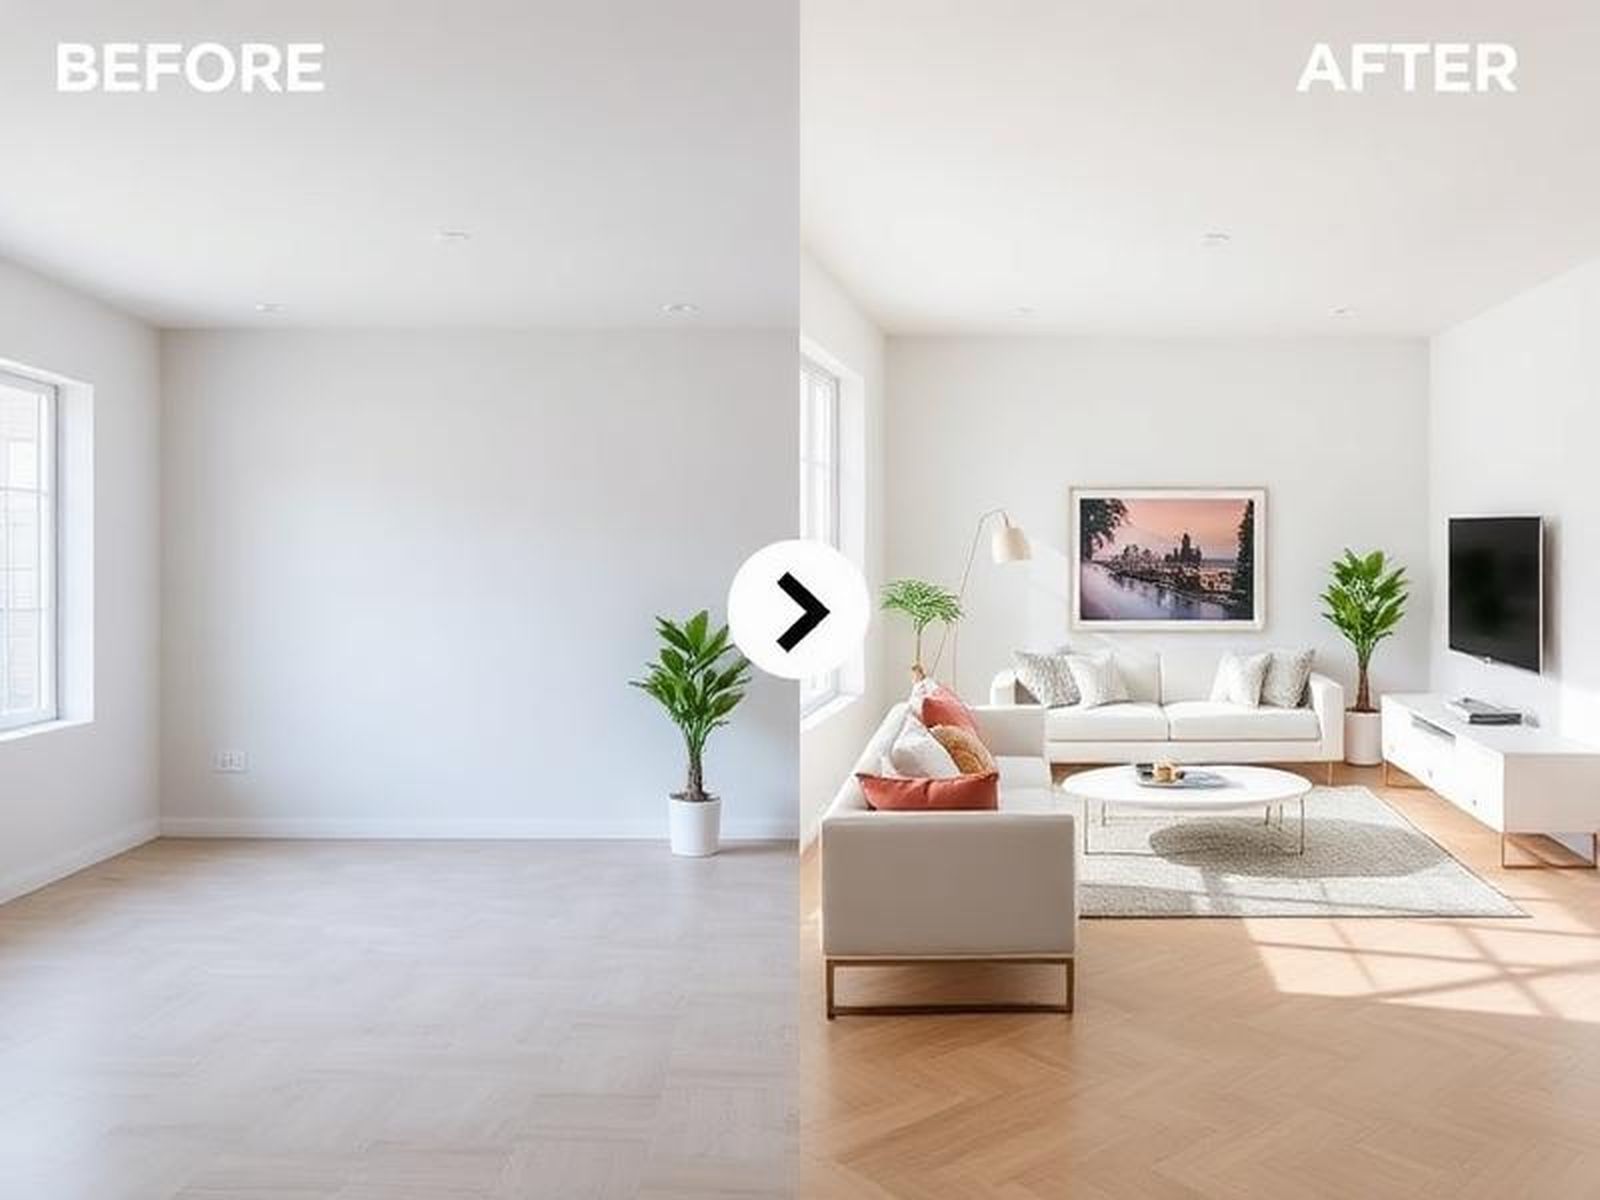
Virtual Staging vs Real Staging: Cost, Pros & Cons
Virtual staging vs real staging compared: cost, what each changes, a before-and-after example, MLS disclosure rules, and when physical staging is the better fit.
October 16, 2026 · 5 min read
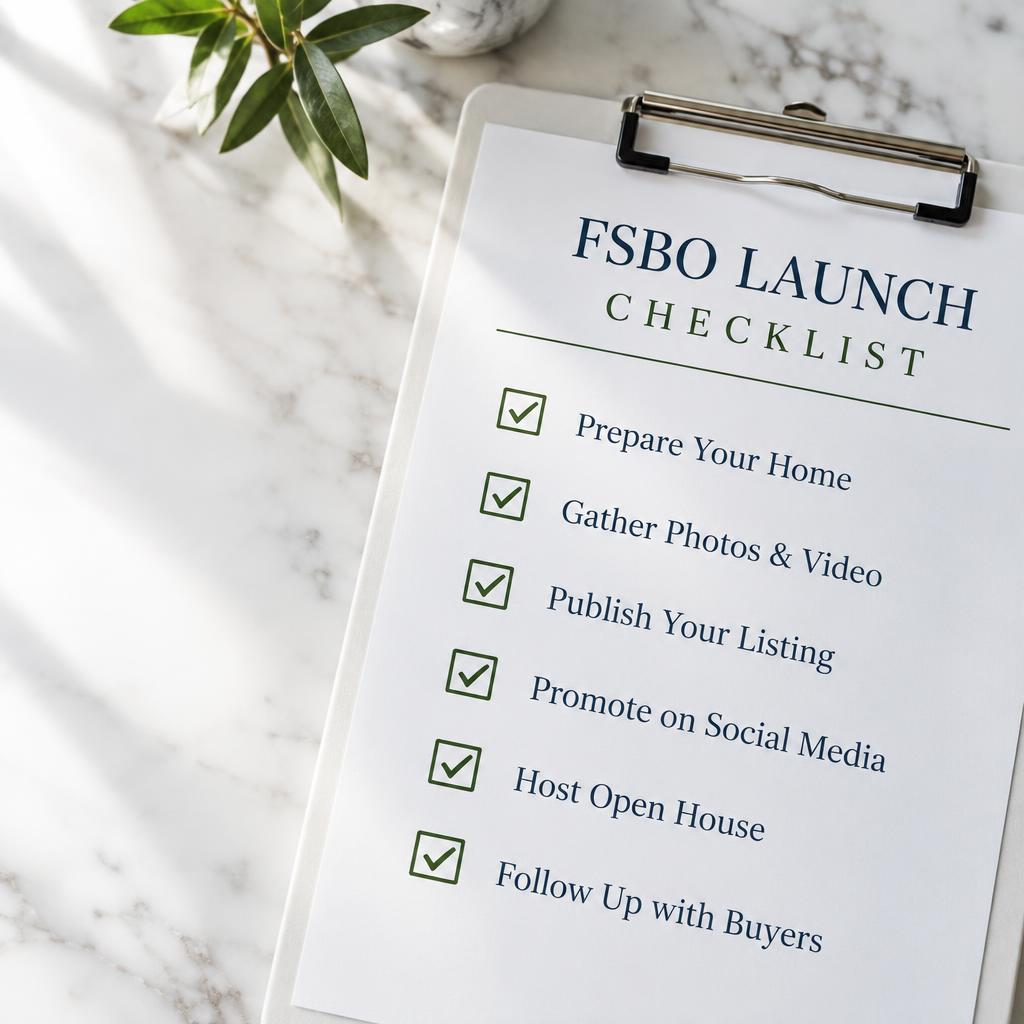
A Listing Marketing Checklist for Agents & Home Sellers
A working checklist for photos, video, social posts, the property page, and open house files before a listing goes live.
October 15, 2026 · 5 min read
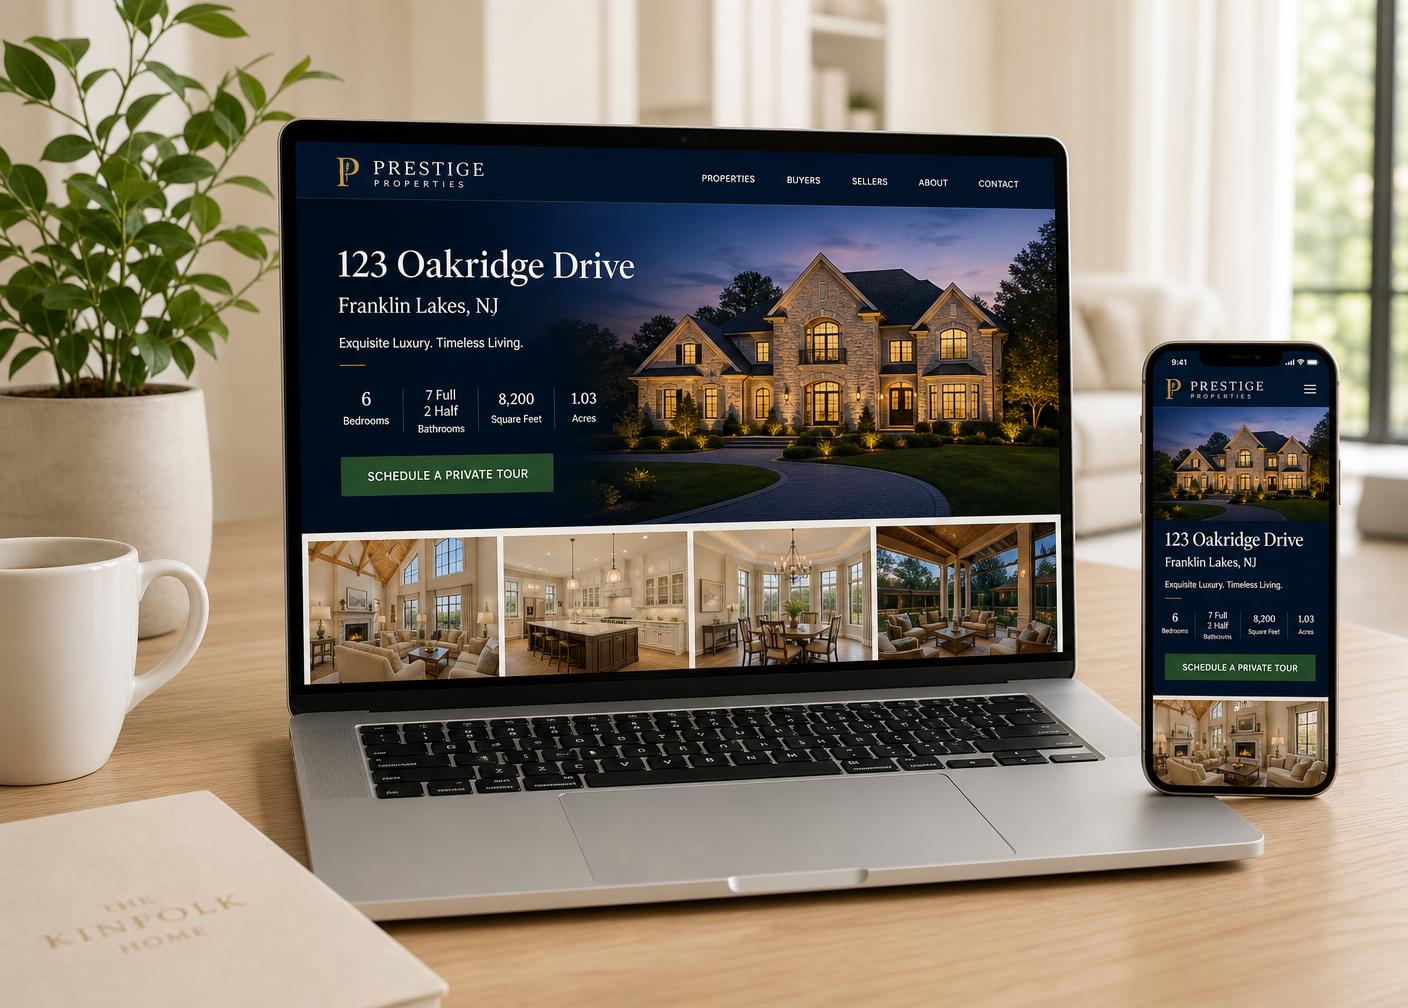
How Fast Can Professional Listing Marketing Be Delivered?
What sets listing marketing turnaround, from the photo calendar to a remote 48-hour package with no shoot day.
October 14, 2026 · 5 min read